Summary: in this tutorial, you’ll learn how to use the Tkinter Text widget to add a text editor to your application.
Introduction to the Tkinter Text widget #
The Text widget allows you to display and edit multi-line text areas with various styles. Besides plain text, the Text widget supports embedded images, links, and custom formatting.
To create a text widget, you follow these steps:
First, import tkinter as tk:
import tkinter as tkCode language: JavaScript (javascript)Second, create a new Text widget using the Text() constructor:
text = tk.Text(master=None, conf={}, **kw)In this syntax:
master: The parent window of theTextwidget.cnf: A dictionary that includes the widget’s configurations.kw: one or more keyword arguments used to configure theTextwidget.
The Text widget is only available in the tkinter module, not the tkinter.ttk module.
Creating a Simple Text Widget #
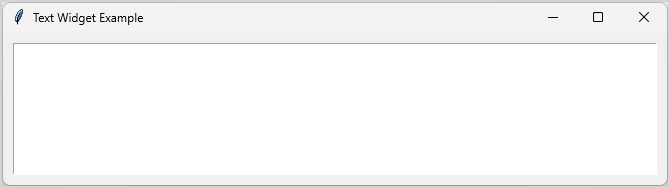
The following example creates a Text widget with eight rows and places it on the main window:
import tkinter as tk

root = tk.Tk()
root.title("Text Widget Example")

text = tk.Text(root, height=8)
text.pack(padx=10, pady=10, expand=True,fill=tk.BOTH)


root.mainloop()Code language: JavaScript (javascript)
Output:
In this example:
height=8specifies the number of rows in theTextwidget.padxandpadyadd padding around the Text widget.expand=Trueandfill=tk.BOTHexpand and fill available space.
Adding content to the Text widget #
To insert contents into the Text widget, you use the insert() method. For example:
import tkinter as tk

root = tk.Tk()
root.title("Text Widget Example")

text = tk.Text(root, height=8)
text.pack(padx=10, pady=10, expand=True,fill=tk.BOTH)

text.insert(
    index='1.0',
    chars= 'This is a Text widget demo'
)


root.mainloop()Code language: JavaScript (javascript)
Output:
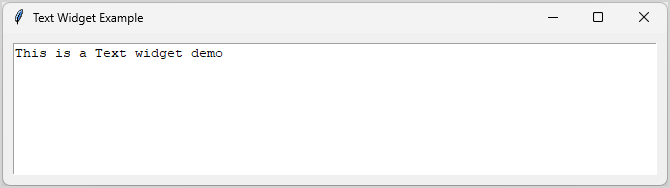
The insert() method takes two arguments:
index‘1.0’ the first character of the first line.chars: the text content that theTextwidget inserts at the specified position.
The index has the following format:
'line.column'Code language: JavaScript (javascript)For example, '1.0' is the first character of the first line.
Retrieving Text from the Text widget #
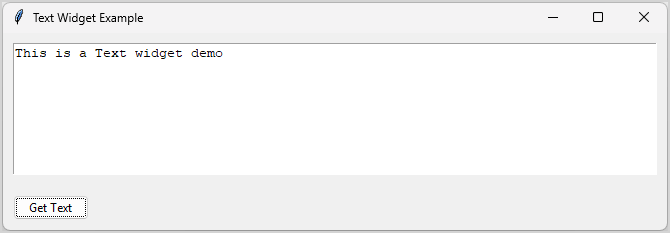
To retrieve the contents of a Text widget, you use its get() method. For example:
import tkinter as tk
from tkinter import ttk
from tkinter.messagebox import showinfo

root = tk.Tk()
root.title("Text Widget Example")

text = tk.Text(root, height=8)
text.pack(padx=10, pady=10, expand=True,fill=tk.BOTH)

text.insert(
    index='1.0',
    chars= 'This is a Text widget demo'
)

button = ttk.Button(
    root,
    text='Get Text',
    command=lambda: showinfo(
        title='Text Data',
        message=text.get('1.0', tk.END)
    )
)

button.pack(padx=10, pady=10, side=tk.LEFT)

root.mainloop()Code language: JavaScript (javascript)
The get() method accepts two arguments index1 and index2 that specify the starting and ending index you want to retrieve the contents.
In this example, we retrieve all contents starting from the first character of line one ('1.0') till the end (tk.END).
Output:
Disabling and Enabling the Text widget #
To prevent users from changing the contents of a Text widget, you can disable it by setting the state option to 'disabled' like this:
text['state'] = 'disabled'Code language: JavaScript (javascript)To re-enable editing, you can change the state option back to normal:
text['state'] = 'normal'Code language: JavaScript (javascript)Deleting contents from the Text widget #
To delete text from the widget, you can use the delete() method:
text.delete('1.0', tk.END)Code language: JavaScript (javascript)For example:
import tkinter as tk
from tkinter import ttk
from tkinter.messagebox import showinfo

root = tk.Tk()
root.title("Text Widget Example")

text = tk.Text(root, height=8)
text.pack(padx=10, pady=10, expand=True,fill=tk.BOTH)

text.insert(
    index='1.0',
    chars= 'This is a Text widget demo'
)

get_button = ttk.Button(
    root,
    text='Get Text',
    command=lambda: showinfo(
        title='Text Data',
        message=text.get('1.0', tk.END)
    )
)
get_button.pack(padx=10, pady=10, side=tk.LEFT)


clear_button = ttk.Button(
    root,
    text='Clear All Text',
    command=lambda: text.delete('1.0', tk.END)
)

clear_button.pack(padx=10, pady=10, side=tk.RIGHT)

root.mainloop()Code language: JavaScript (javascript)
Output:
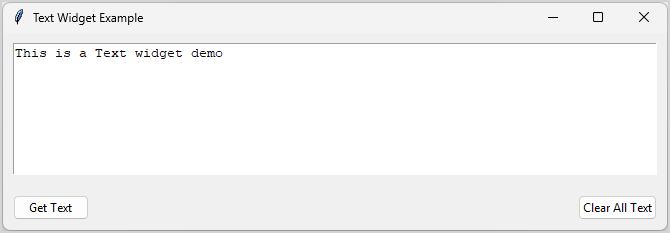
In this example, the delete() function clears all text from the widget by specifying the range '1.0' to tk.END.
Changing the appearance of the Text widget #
Here are some configurations you can use to change the appearance of the Text widget:
bg: The background colorfg: The text colorinsertBackground: the cursor color
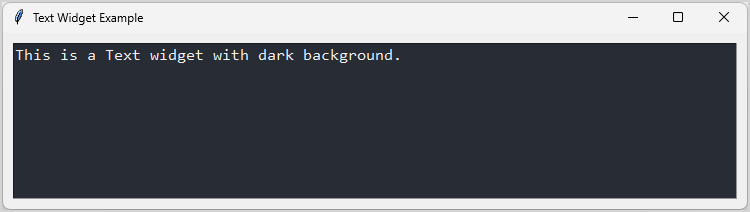
For example, the following program creates a Text widget with a dark background and white text:
import tkinter as tk
from tkinter import ttk
from tkinter.messagebox import showinfo

root = tk.Tk()
root.title("Text Widget Example")

text = tk.Text(root, height=8)
text.config(
    font=("Consolas", 12),
    fg="#F0F0F0",
    bg="#282C34",
    insertbackground="white"
)

text.pack(padx=10, pady=10, expand=True,fill=tk.BOTH)
text.insert(
    index='1.0',
    chars= 'This is a Text widget demo'
)


root.mainloop()Code language: JavaScript (javascript)
Output:
Embedding links #
You can embed links into the Text widget using the tag_add method and change the link appearance using the tag_config method.
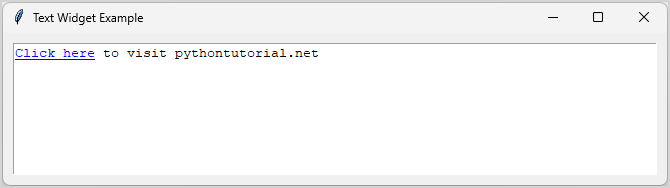
For example, the following program embeds a link to the Text widget:
import tkinter as tk
import webbrowser


root = tk.Tk()
root.title("Text Widget Example")

text = tk.Text(root, height=8)
text.pack(padx=10, pady=10, expand=True,fill=tk.BOTH)

text.insert("1.0", "Click here to visit pythontutorial.net")

# add link
text.tag_add("link", "1.0", "1.10")
text.tag_config("link", foreground="blue", underline=True)

# link click
text.tag_bind(
    "link",
    "<Button-1>",
    lambda e: webbrowser.open("https://www.pythontutorial.net")
)

# link hover
text.tag_bind(
    "link",
    "<Enter>",
    lambda e: text.config(cursor="hand2")
)

# link leave
text.tag_bind(
    "link",
    "<Leave>",
    lambda e: text.config(cursor="")
)

# show the Text editor on the main window
text.pack(padx=10, pady=10, side=tk.LEFT)

root.mainloop()Code language: PHP (php)
Output:
How it works.
First, adding a link to the text on line 1 from the first to the 10th characters (Click here):
text.tag_add("link", "1.0", "1.10")Code language: JavaScript (javascript)Second, change the text color of the link to blue and underline it:
text.tag_config("link", foreground="blue", underline=True)Code language: PHP (php)Third, open the url https://www.pythontutorial.net using the web browser when users click the link:
text.tag_bind(
    "link",
    "<Button-1>",
    lambda e: webbrowser.open("https://www.pythontutorial.net")
)Code language: JavaScript (javascript)
The "<Button-1>" traps the left mouse click.
Fourth, change the cursor to hand2 when the mouse hovers over the link:
text.tag_bind(
    "link",
    "<Enter>",
    lambda e: text.config(cursor="hand2")
)Code language: JavaScript (javascript)
Fifth, change the cursor back when the mouse leaves the link:
text.tag_bind(
    "link",
    "<Leave>",
    lambda e: text.config(cursor="")
)Code language: JavaScript (javascript)
Embedding Images #
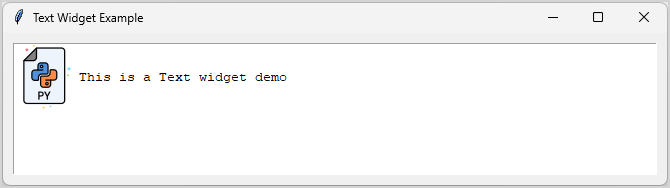
To embed an image into the Text’s content, you use the image_create method. For example:
import tkinter as tk

root = tk.Tk()
root.title("Text Widget Example")

text = tk.Text(root, height=8)
text.pack(padx=10, pady=10, expand=True,fill=tk.BOTH)

text.insert(index='1.0', chars= 'This is a Text widget demo')

# embed an image
image = tk.PhotoImage(file="./assets/python.png")
text.image_create("1.0", image=image)

root.mainloop()Code language: PHP (php)
Output:
How it works.
First, create a new PhotoImage with the path to the image:
image = tk.PhotoImage(file="./assets/python.png") Code language: JavaScript (javascript)You need to replace the image path with your actual one.
Second, embed the image at the beginning of the line 1 (1.0)
text.image_create("1.0", image=image)Code language: JavaScript (javascript)Summary #
- Use Tkinter
Textwidget to create a multi-line text area.